A few years ago I read that you could make ferrofluid at home with some basic ingredients. I filed it away in my “things I’d like to do some day” brain folder, but never really had a reason to pull it out and actually try it. Until recently!
I’m back to taking classes at my local community college, and for our first project we’re playing with shape and form, and I decided it was finally time to try to make some ferrofluid. I’ll talk more about the full sculpture design in a future post, when I have more of the other bits done, but for right now let’s talk ferrofluid.
In case you’ve never heard of it, ferrofluid is basically just a liquid that reacts to magnets. In more technical terms, it’s “a colloidal liquid made of nanoscale ferromagnetic or ferrimagnetic particles suspended in a carrier fluid.” Here’s what it looks like:
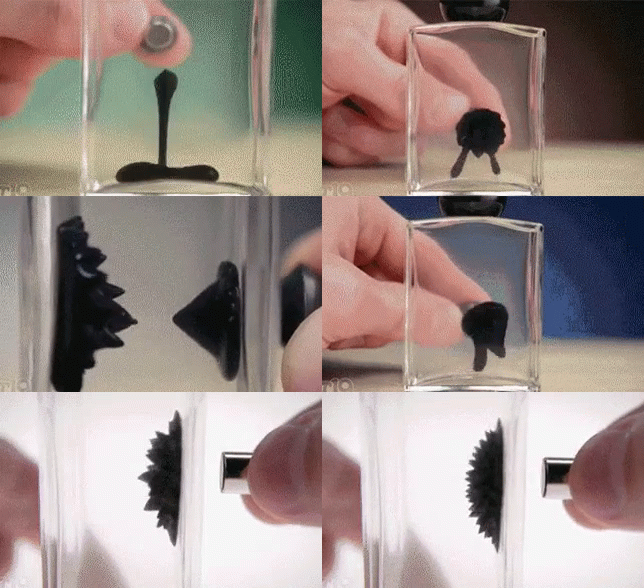
According to the internet, you can make very basic ferrofluid with just a few simple ingredients: VHS tapes, acetone, and cooking oil. The idea is that you simply melt the plastic away and extract the ferric oxide that’s used to encode the images and sound on the tapes. Then you suspend that ferric oxide in oil. Simple enough, right?
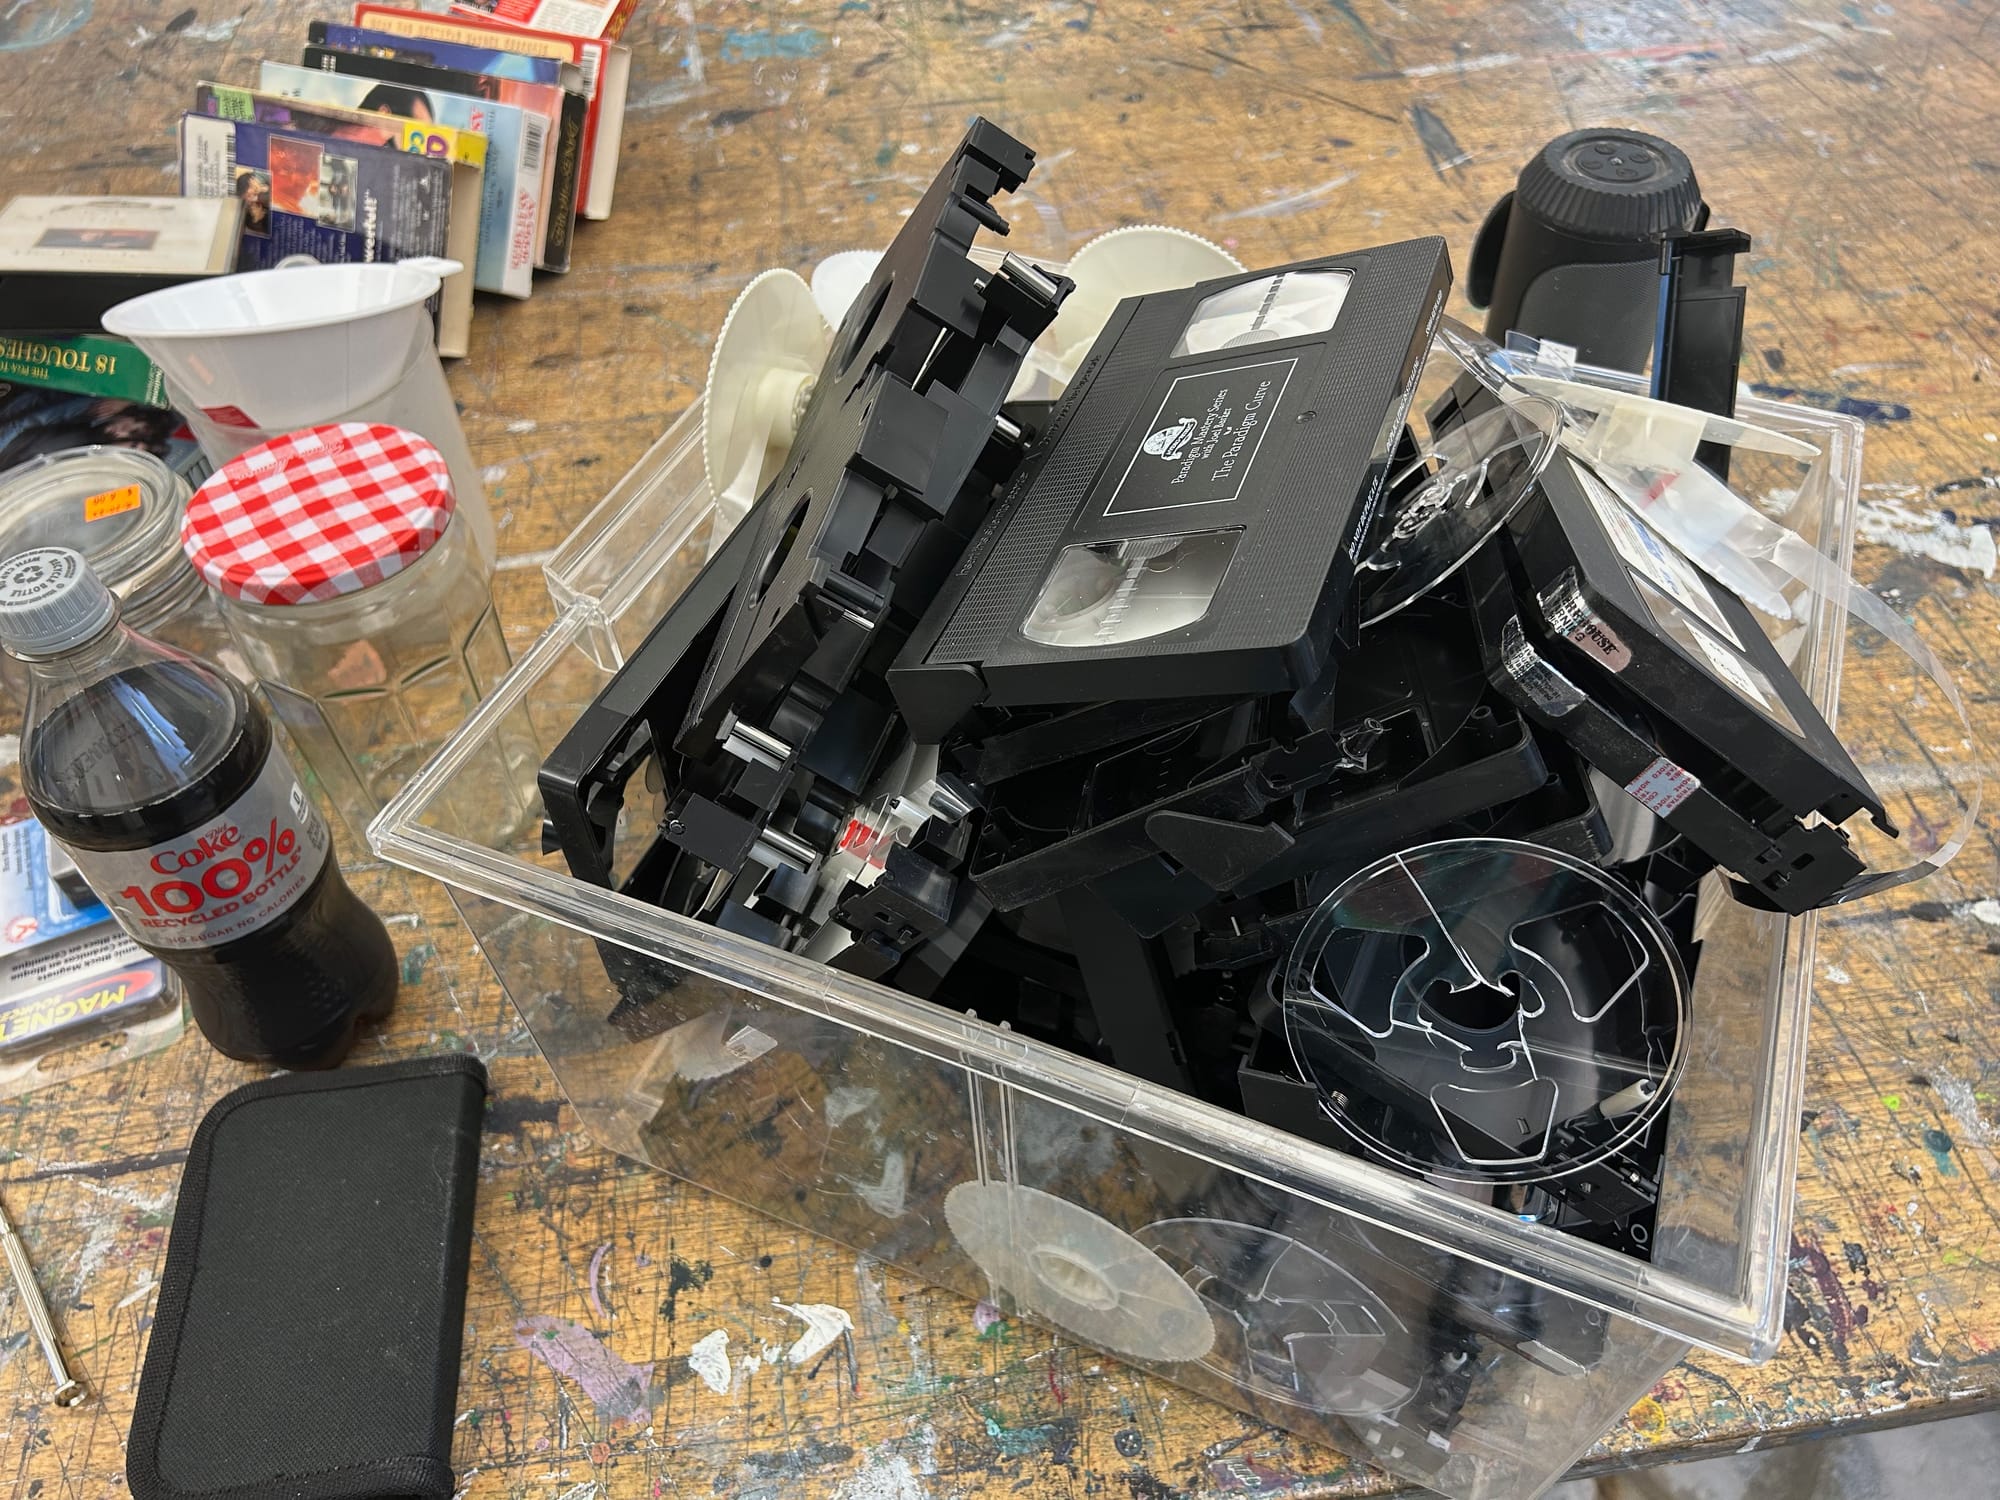
My local salvage yard has plenty of VHS tapes for sale for 50 cents each so I grabbed 25 of them. Then I had to figure out how to unspool all these VHS tapes. Turns out they’re wrapped fairly tightly and trying to pull them out by hand would have taken me ages. But as I was fiddling with them, I learned that they will actually unspool themselves with the help of gravity. Behold, my extremely satisfying little unspooling station.
Once they were all unspooled, I put them in a big box and filled it with acetone. (Yes, I wore gloves and a respirator.) I did drop my phone into the bucket of acetone at one point, which I cannot recommend. The phone was fine, but the credit cards I keep in a little pocket behind the phone melted pretty quickly.
After a few days, and a few runs with a magnet, I did manage to gather some of the bits of metal from the tapes. But it wasn’t that much! In the various DIY guides I read, they were able to get a lot more material out of fewer tapes, and I can’t quite figure out why. Here’s what I got out of about 15 of the tapes (I didn’t have a bucket big enough to put everything in, nor did I want to source quite that much acetone at one time).
I was fairly dissatisfied with this whole process, so I did a bit more research, and I found this video from YouTuber NileRed about making ferrofluid. Turns out he too tried to make the stuff using online guides, and he too was not happy with the results. So he came up with a much more technical process.
I do not have most of the tools he does, but I though to myself “why not try?” So in my garage I rigged up a MUCH less fancy setup involving a power drill, my microphone boom stand, and a bucket.
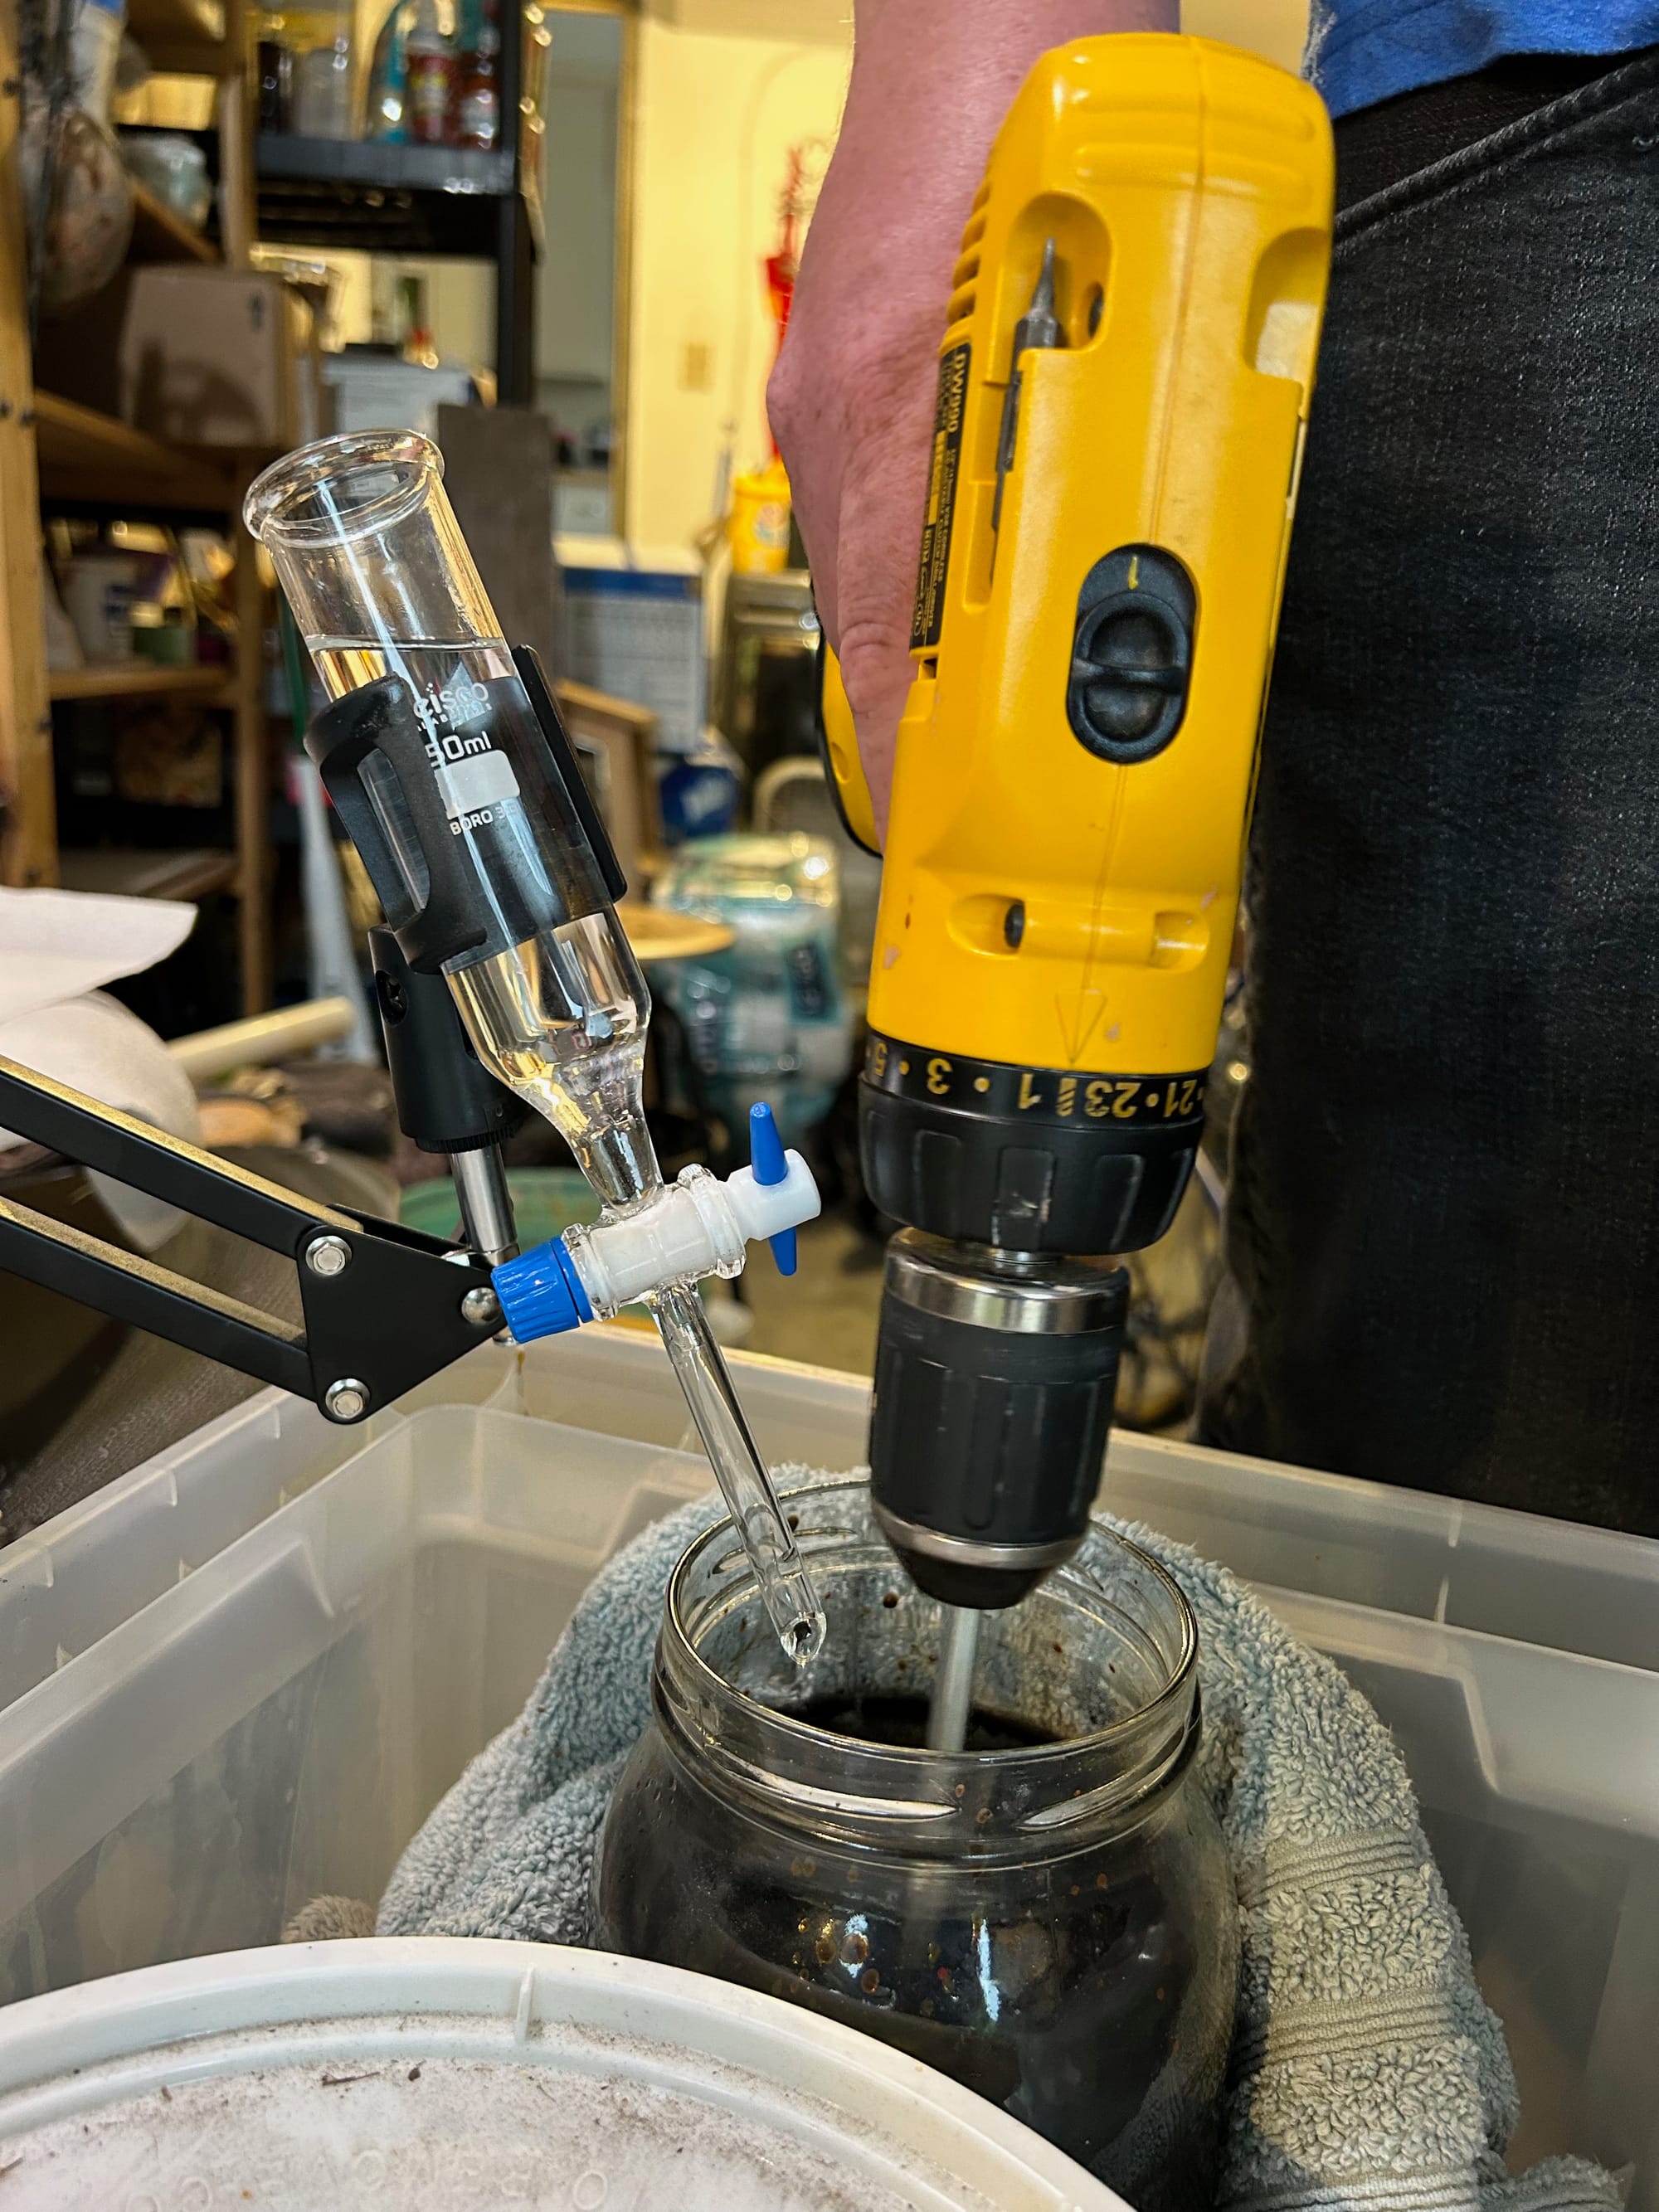
Because this process involves some pretty stinky and potentially dangerous chemicals like ammonia and muriatic acid, I did all of this in the garage with the door open. My neighbors probably think I’m brewing some kind of illicit substance.
But it worked! I managed to create and extract way more material than with the VHS tapes.
Here’s what I got after extracting and washing the particles with isopropyl alcohol. You can see on the bottom is all the magnetite, being held there by magnets beneath the little glass container.
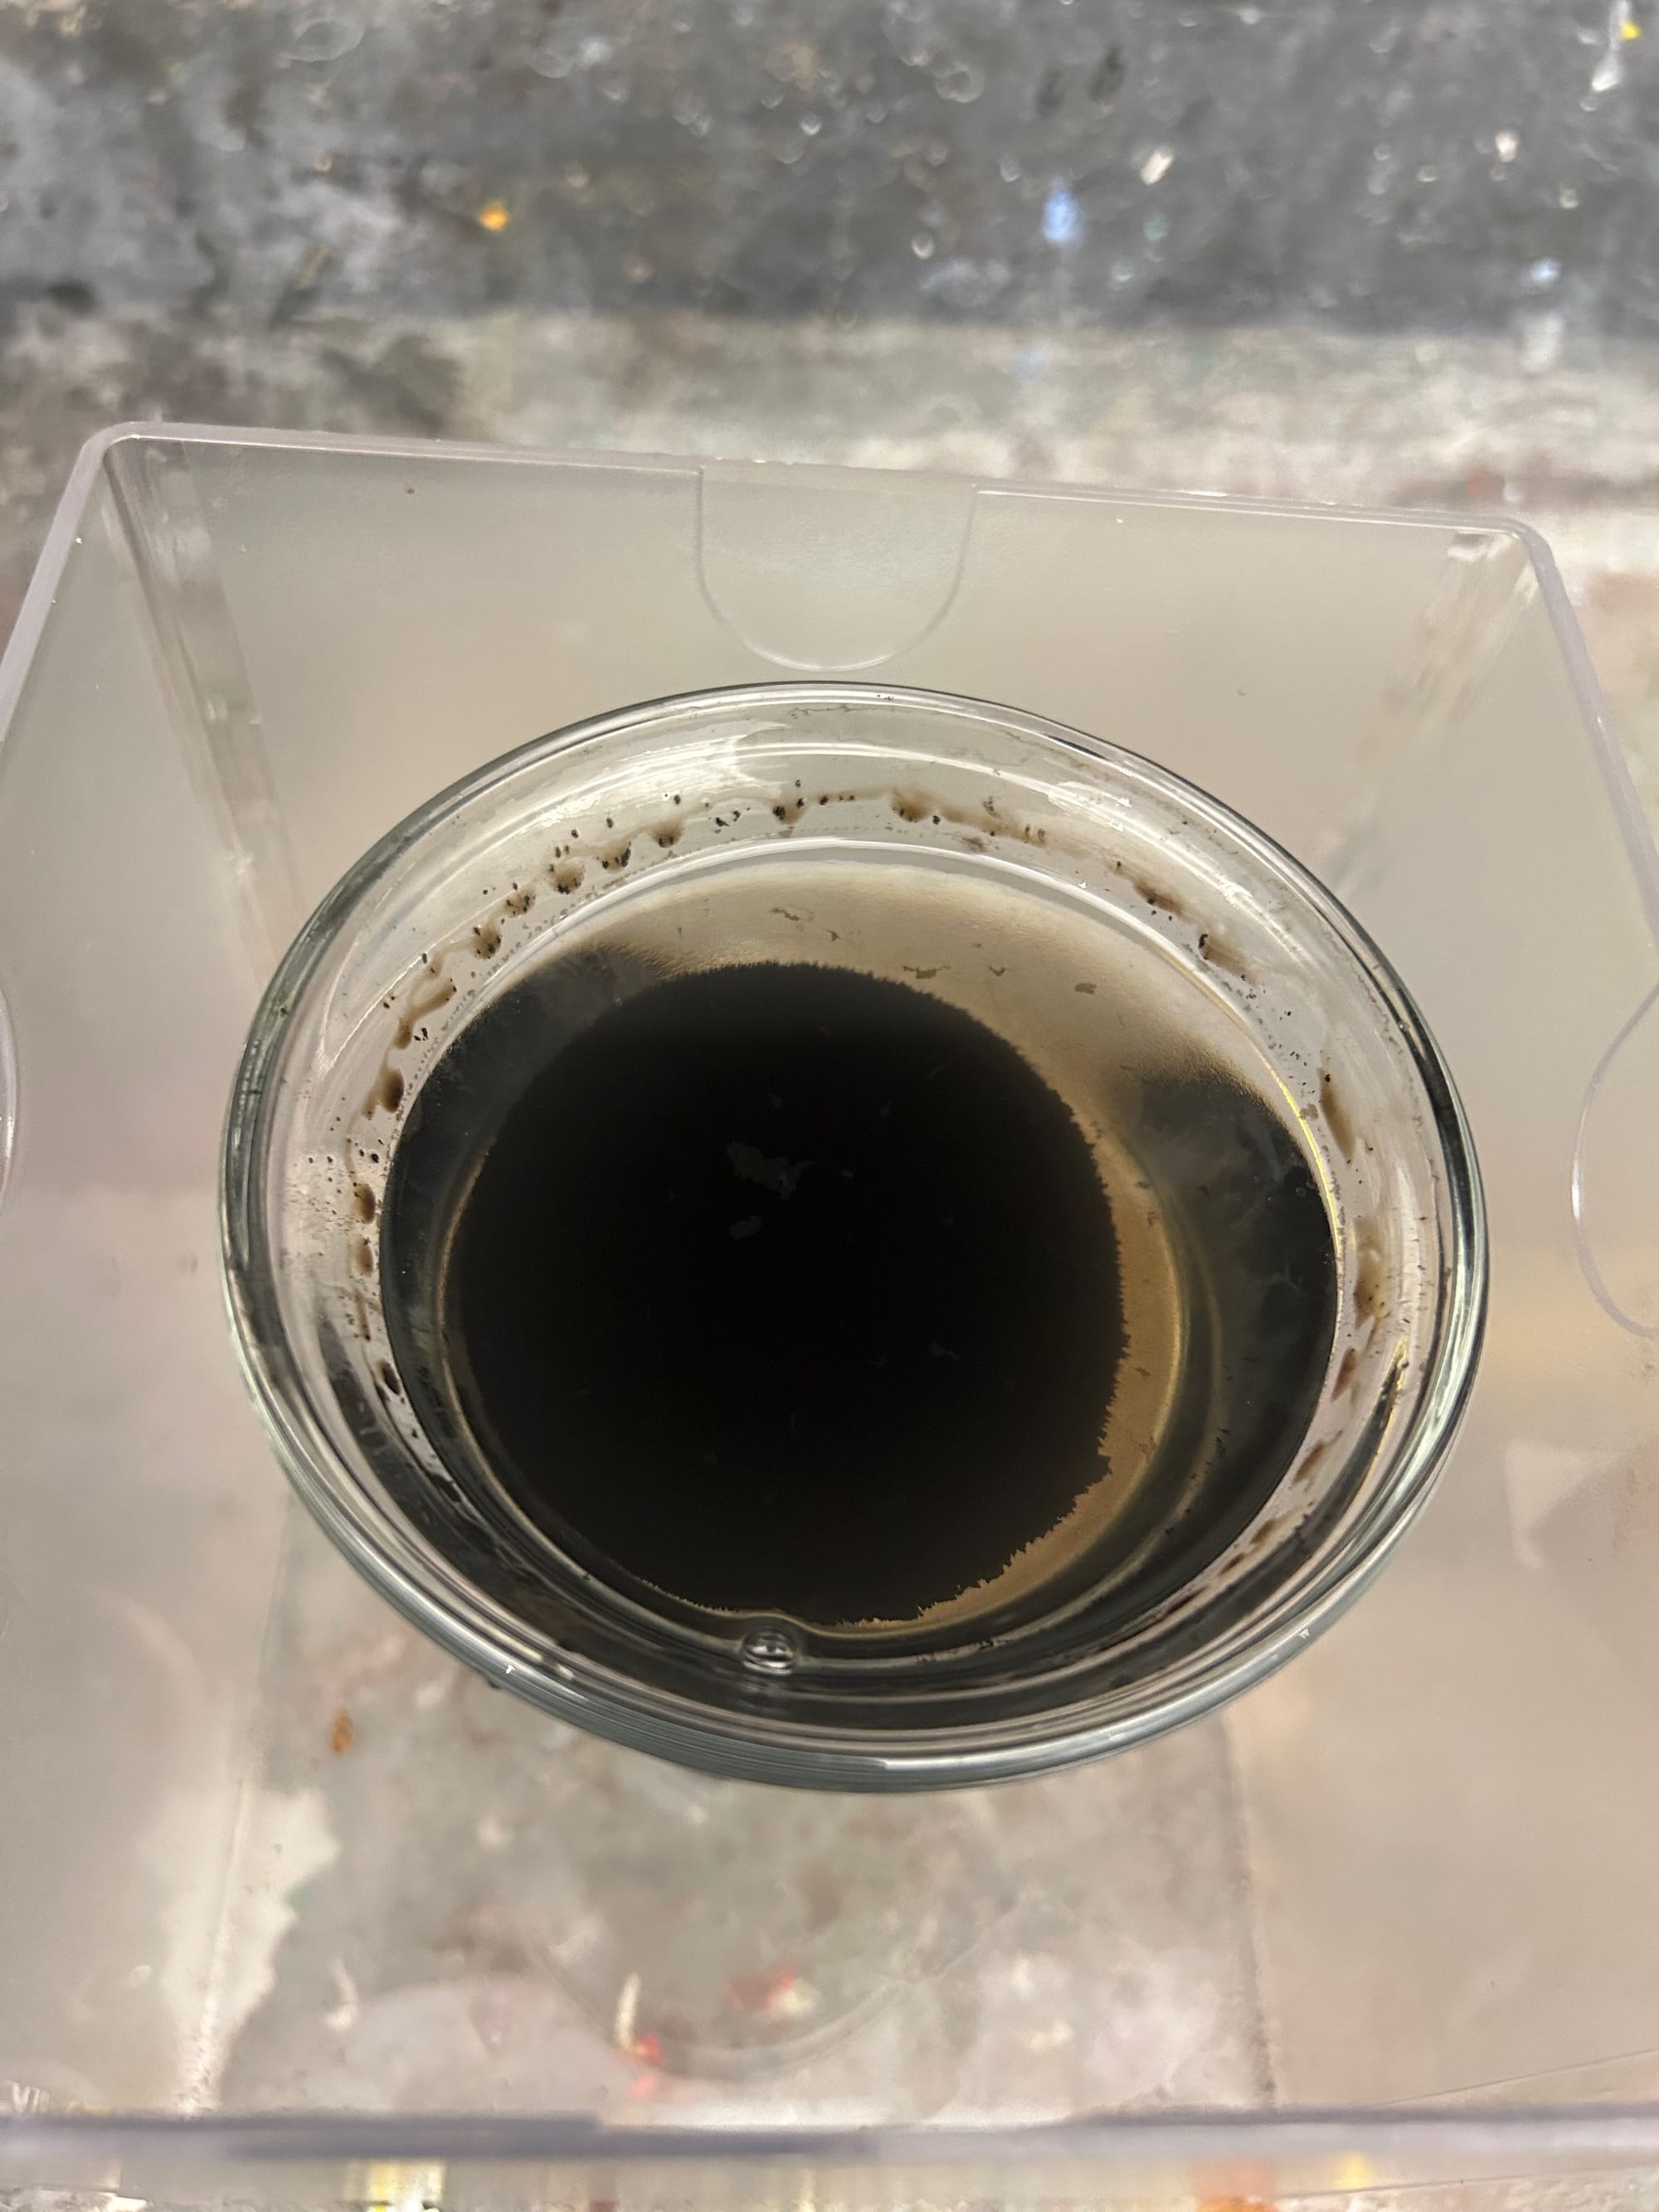
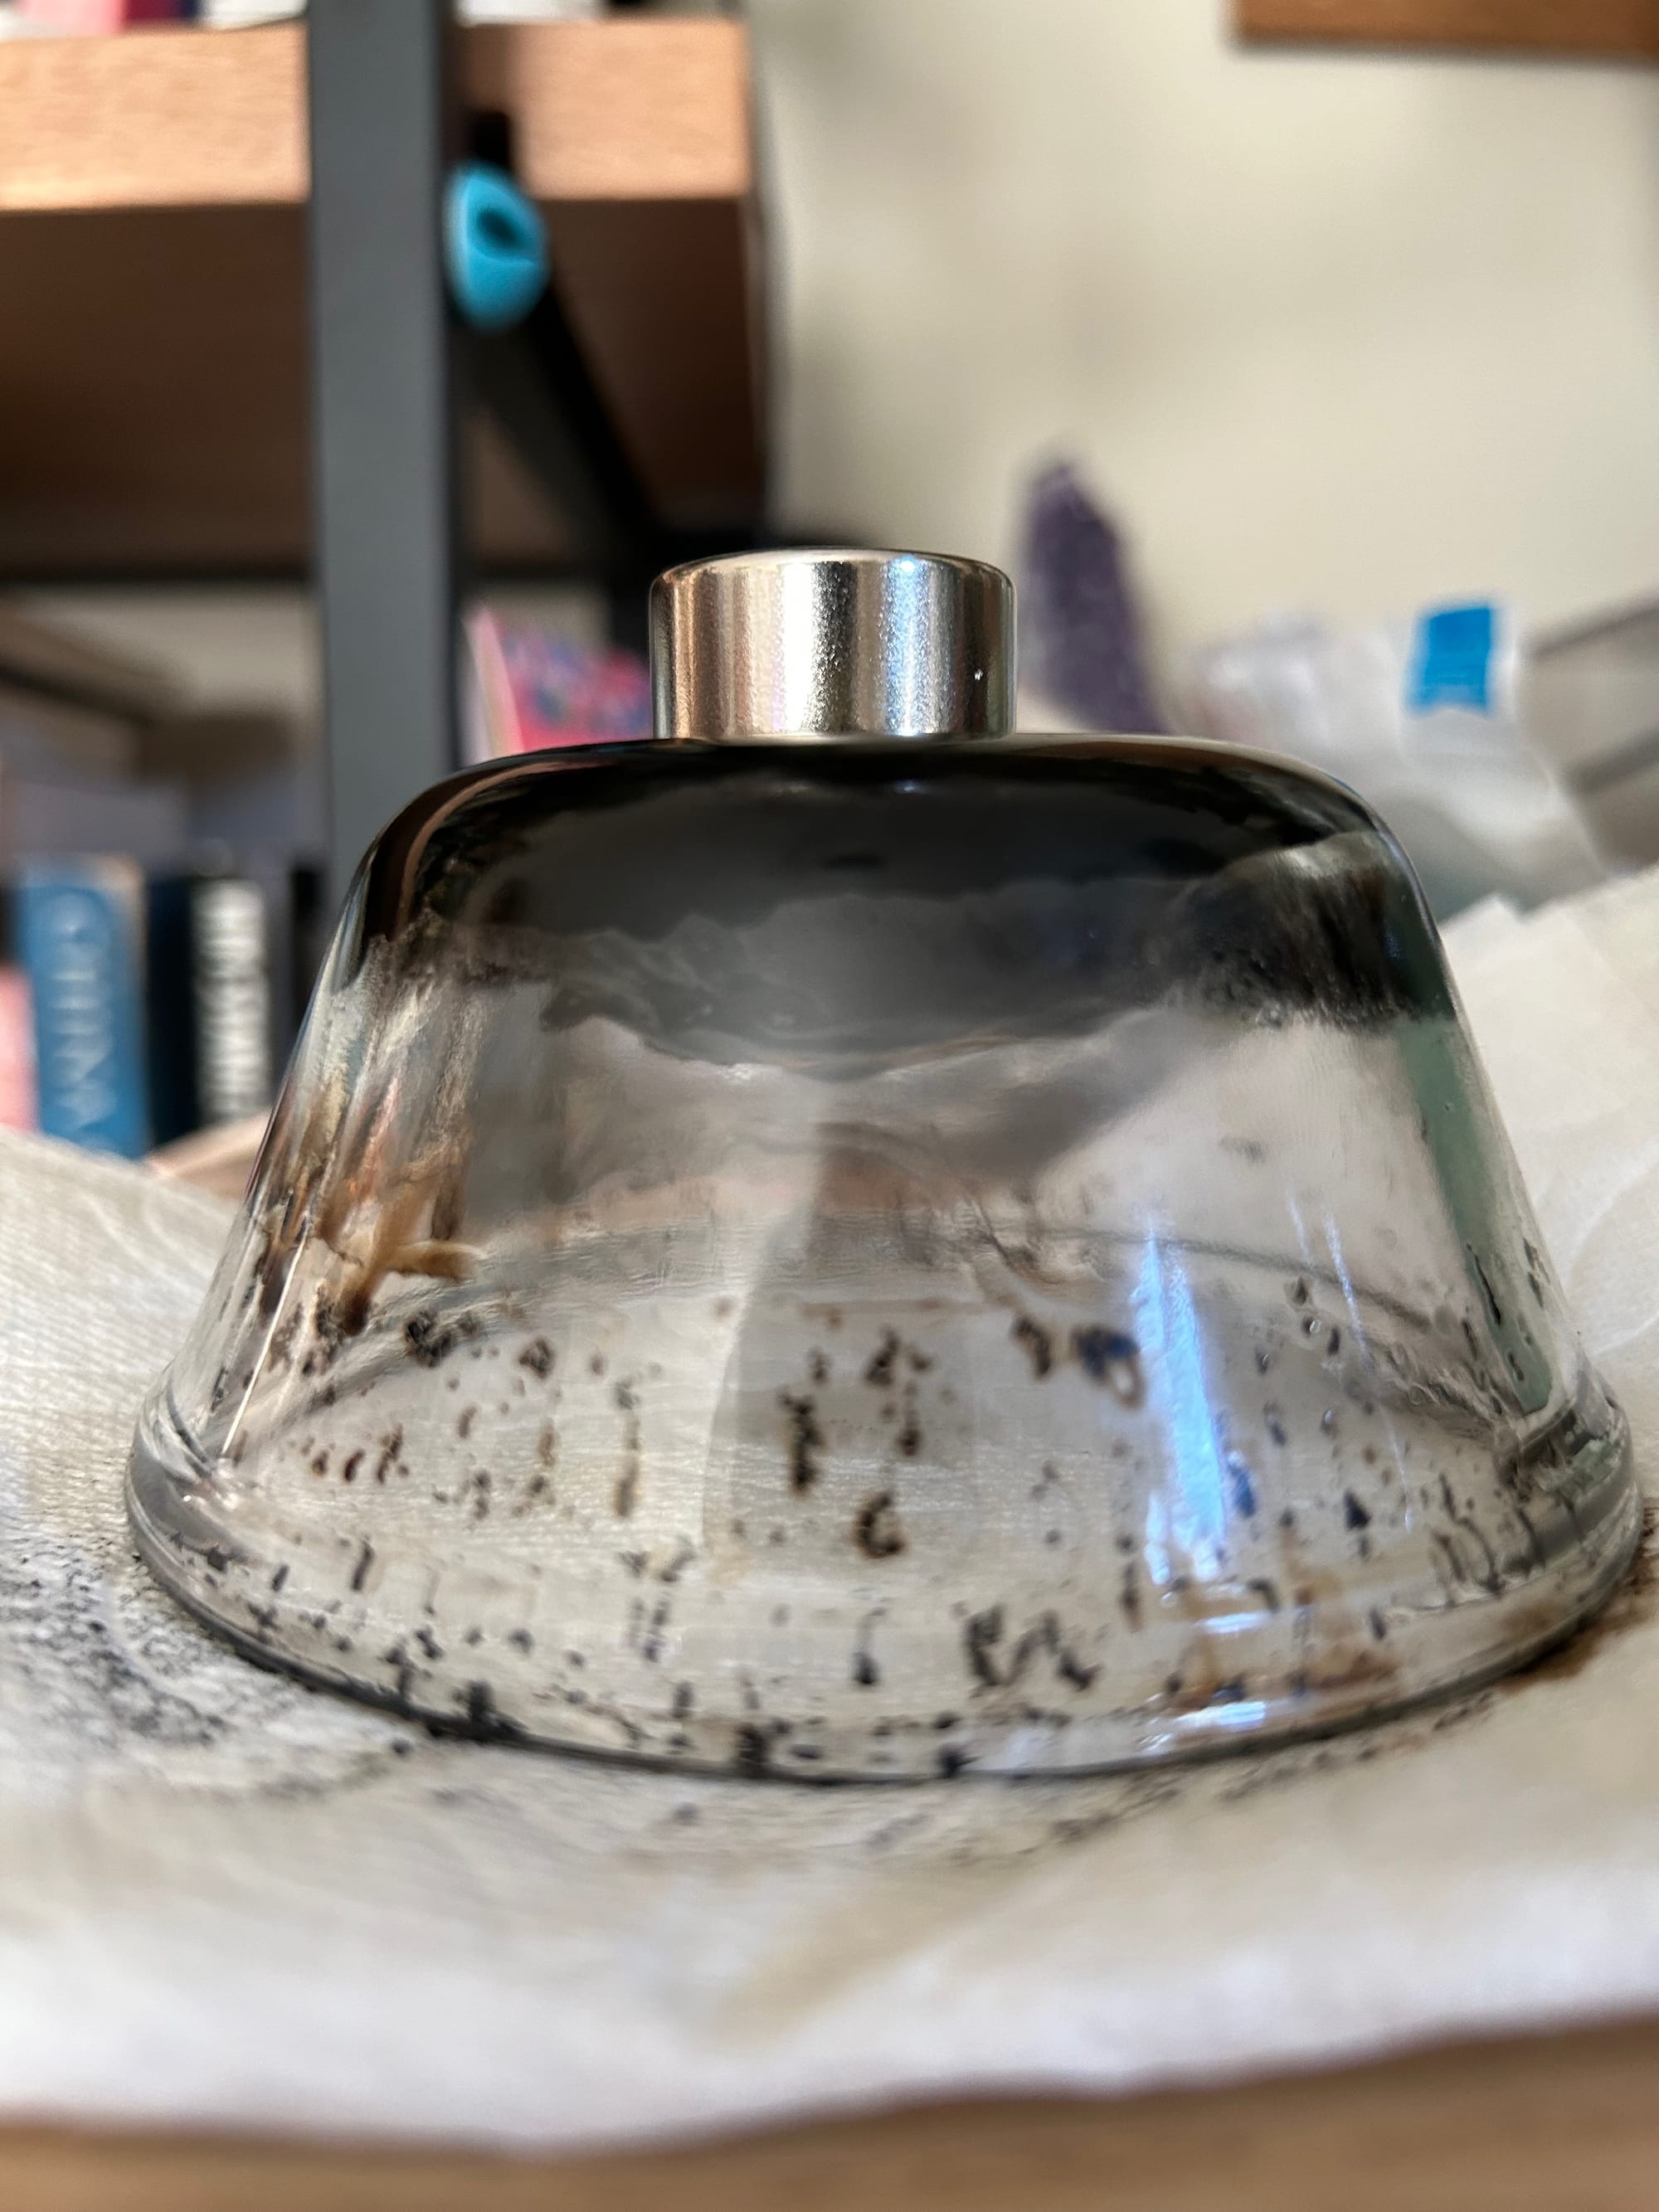
The next stage of this process in the video involved using a vacuum chamber to dry out this material into a powder. I didn’t have a vacuum chamber on hand, and I couldn’t find one on craigslist or FB marketplace (nor could I really justify spending $100 on one on ebay). So I tried to dry the magnetite out using a bunch of silica packs made for dessication. It took a long time, and it never got as dry as the video got with the vacuum chamber, but I figured it was perhaps good enough? With the mostly-dry magnetite ready, I added the final step: kerosene. And that’s it!
Behold, my ferrofluid in action! This actually worked WAY better than I was expecting.
This first batch was a success, but the process left something to be desired. The drill battery kept dying, so we kept having to switch it out and eventually just stop and wait while it charged. Plus, the drill doesn’t get the same RPMs that the video laid out. So for the second batch, I went out and got a drill press off Craiglist — which was powerful enough to need a splash guard (something we learned the hard way, oops, don’t worry, everybody is fine).
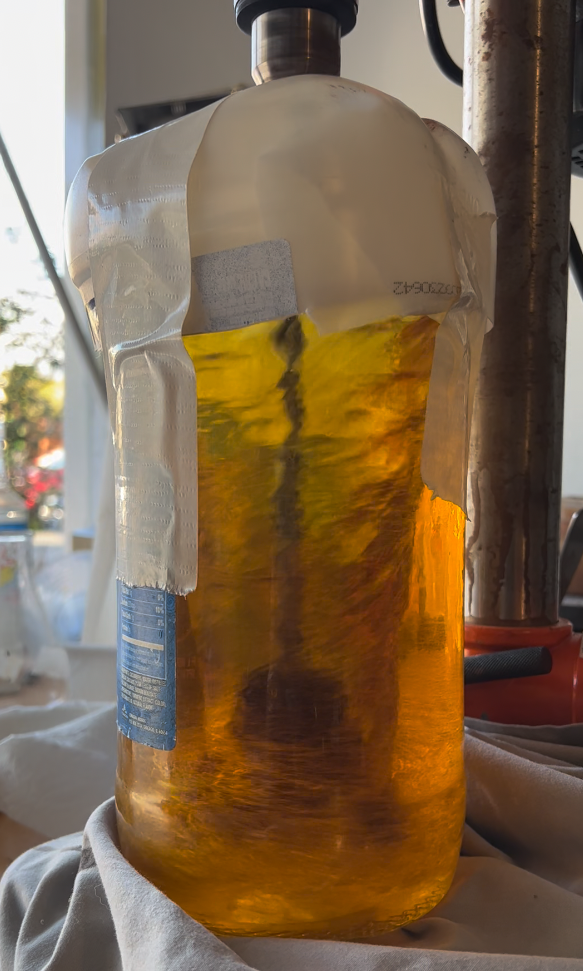
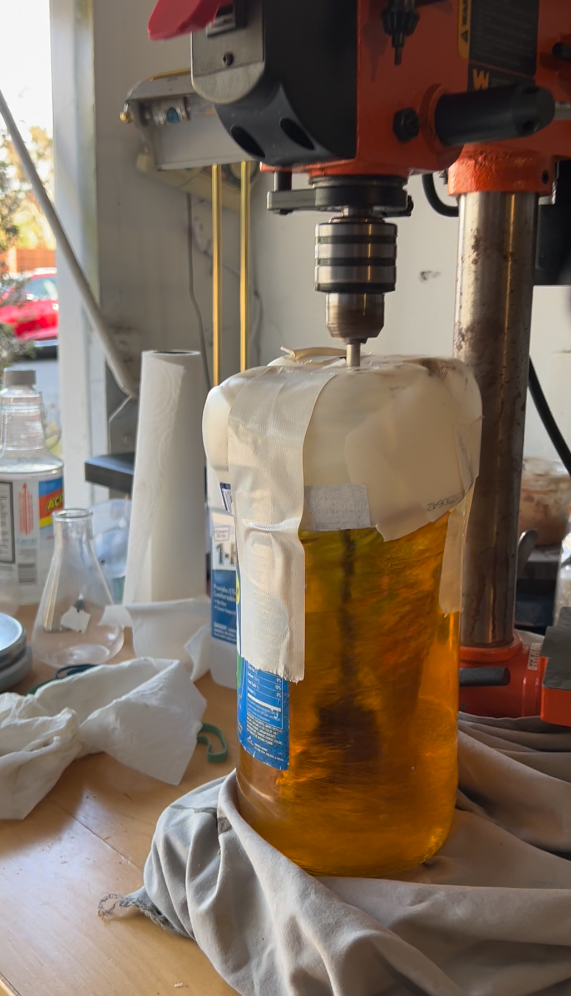
I made a few more batches this way, so I had enough for the sculpture I’m making that this will ultimately go into. I’ll update you on the assembly in another Process Log.
Fun!